REVIEW · ADELAIDE
Barossa Valley Hop-On Hop-Off Wine Tour
Book on Viator →Operated by Trail Hopper · Bookable on Viator
Four wineries, zero driving headaches, one simple bus loop. This full-day Barossa Valley hop-on hop-off tour lets you shape the day around your tastes, hopping off at selected stops in town and vineyard country instead of being trapped in a rigid schedule.
I like the flexibility most: you’re looking at 10–15 possible stops, and you’ll typically end up visiting around four wineries and eateries at your own pace. I also like that the transport is built in, with an air-conditioned bus and bottled water, so you can focus on sampling, snacking, and people-watching in places like Tanunda rather than planning rides.
One thing to watch: wine tastings and food cost extra. If you want cellar door tastings, budget for those fees directly at venues, and keep an eye on the bus timing because the whole point is hopping on and off, not waiting around.
In This Review
- Key things I’d plan around before you go
- Hop-On Hop-Off Logic: How You Get About Four Stops
- Price and What You’re Really Paying For at $71.72
- Adelaide Pickup at Stamford Plaza: A Clean Start at 9:30
- Tanunda Base at the Barossa Visitor Centre: Your 5-Hour Control Room
- Choosing Your Four Stops: A Real-World Strategy That Works
- The Stops You’ll Hear About Most: Maggie Beer, Saltram, Yalumba, and Beyond
- Wine Tastings and Lunch: Budget Reality Without Surprises
- Getting Help From the Guide Without Losing Your Independence
- Group Size, Comfort, and the Feel of the Day
- Should You Book the Barossa Valley Hop-On Hop-Off Wine Tour?
- FAQ
- How long is the Barossa Valley Hop-On Hop-Off Wine Tour?
- What does it cost?
- How many wineries or eateries can I visit?
- Where do I get picked up in Adelaide, and when?
- Where do I go once I’m in the Barossa Valley?
- What’s included in the tour price?
- What’s not included?
- Is it a mobile ticket, and when will I get confirmation?
- Can I cancel for a refund?
Key things I’d plan around before you go
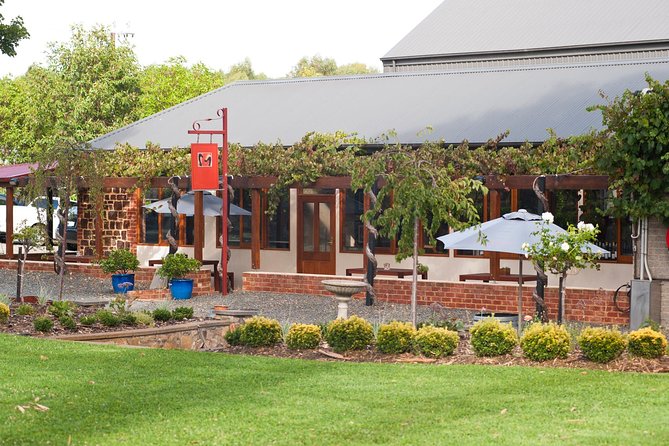
- Hourly circuit energy: the route runs in a loop, so you can linger or move on without turning the day into a rush marathon
- About four stops picked by you: from roughly 10–15 options, you choose where your time goes
- Maggie Beer, Saltram, Yalumba are common favorites: you’ll see strong options in the big-name category and the food-and-snack category
- Air-conditioned coach plus bottled water: a small comfort that matters when you’re in wine-country heat
- Cellar door fees and lunch are on you: the tour handles transport; you handle tasting choices
- Smaller group feel: max 8 per booking, and a cap of 20 travelers overall
Hop-On Hop-Off Logic: How You Get About Four Stops
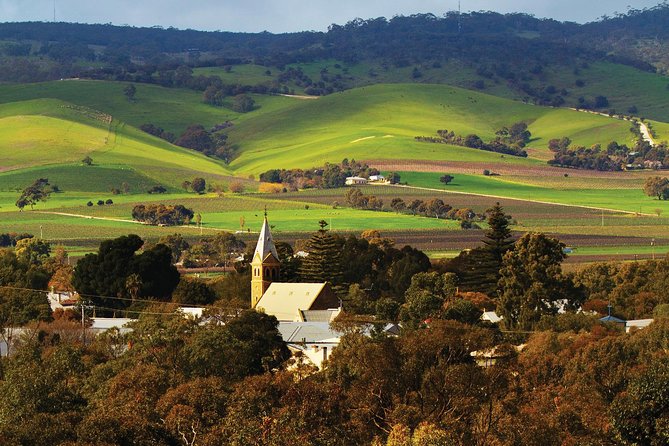
The core idea here is simple: you’re on a bus loop with stops spaced along the Barossa route, and you hop off where you want to spend time. The full circuit takes about an hour, and you usually get enough breathing room to do around four selected venues across the day. That’s not a full, whirlwind tour of every cellar in the region. It’s more like a smart sampler platter.
Here’s how to use that structure well. Pick two “anchors” early—places you’d regret skipping. Then choose the other two based on how you’re feeling: one food stop, one scenic stop, or a second winery that matches your mood. Want something easy and casual? Add a bakery or café stop in Tanunda/Angaston style areas. Want a more classic wine-focused day? Add two cellar-door sessions.
The hop-on hop-off format also gives you permission to change your plan mid-day. If you love a winery’s vibe, you can spend longer there. If the first tasting room doesn’t click for you, you can move on. That’s the real value: your day stays yours.
You can also read our reviews of more wine tours in Adelaide
Price and What You’re Really Paying For at $71.72
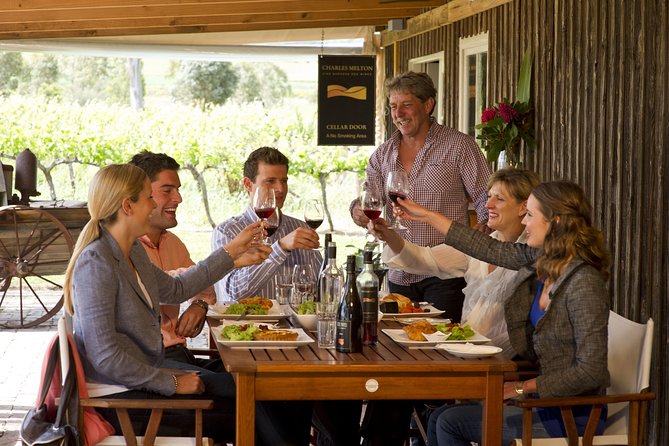
At $71.72 per person, you’re paying for more than a seat on a coach. You’re paying for transport between venues, air-conditioned comfort, and the “no driving” freedom that matters in wine country. If you’ve ever tried to coordinate taxis or designated drivers for a full day, you know how quickly that adds up—or how stressful it becomes.
Now the tradeoff: the price is for the tour experience, not for the wine and food bill. Lunch isn’t included, alcoholic beverages aren’t included, and cellar door tasting fees are payable directly at venues. So your total day spend will depend on how many tastings you choose and whether you add a sit-down meal.
I’d look at it this way: the tour cost buys you the ability to visit multiple places safely and efficiently. Then you budget like you’re building your own tasting menu. If you choose 4 venues and pay for 1–2 tasting sessions and a meal, you’ll still come out feeling like you got value, because you’re not paying for separate transport to each stop.
Adelaide Pickup at Stamford Plaza: A Clean Start at 9:30
Your day begins in the Adelaide CBD. You’re picked up at Stamford Plaza Adelaide, 150 North Terrace, Adelaide SA 5000. The pickup time is 9:30 am, and the return is approximately 5:30 pm.
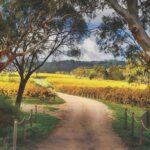
What I like about starting this way is the simplicity. You’re not trying to find a meeting point halfway across town or coordinating multiple rides. You roll out of the city on a comfortable bus, with the drive giving you that first hit of Barossa atmosphere—rolling vineyards and classic country towns as you leave Adelaide behind.
If you’re sensitive to early starts, this one is still fairly reasonable for a full day: you’re not meeting at 7 am. You’ll have time to grab breakfast in the city before you head out.
Tanunda Base at the Barossa Visitor Centre: Your 5-Hour Control Room
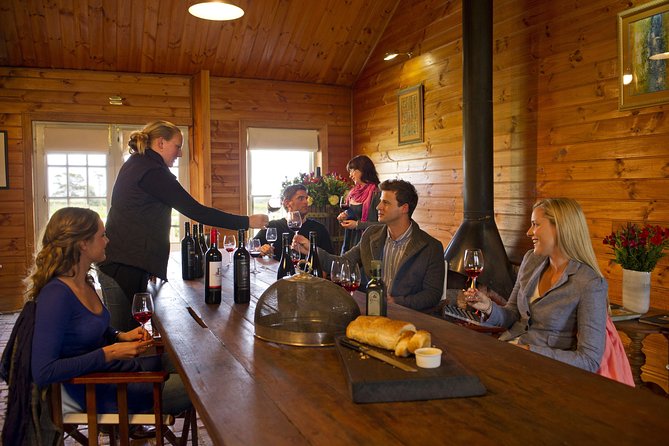
Once you’re in the region, you’ll have a longer window to shape your day. The tour highlights a pickup at the Barossa Visitor Centre, 25 Murray Street, Tanunda SA 5352, with an in-region pickup time of 10:50 am. From there, you’re working with about a 5-hour block to hop around.
Tanunda matters because it’s practical. It’s the kind of town where you can pair wine with easy food options—bakeries and cafés come up a lot as part of the plan. If you want your day to include a break from tasting rooms, this is where you can pivot without wasting time.
Here’s a practical approach: use the first part of your time to do one winery session and one food check. That gets you fueled early, then you can make the rest of your choices with a clearer head and a better sense of what you actually like.
Choosing Your Four Stops: A Real-World Strategy That Works
The tour is built for choosing. But the problem is that Barossa has options, and too many choices can freeze people. So I’d make it easy on yourself.
Use the 4-stop structure like this:
- Stop 1 (set the theme): choose the type of place you want to lead with—classic cellar door, food-forward venue, or a major destination shop
- Stop 2 (add comfort): pick a place where you’ll want to linger 45–60 minutes
- Stop 3 (one “maybe” risk slot): a winery that sounds fun, even if you’re not sure yet
- Stop 4 (wrap with a win): either a second tasting if you’re still feeling it, or a food/café stop to end the day on a relaxed note
From the options that show up repeatedly, you might see strong picks like Maggie Beer’s iconic shop (often a must-do), Saltram (often paired with wood-fired pizzas and modern cuisine), and Yalumba (often described with its garden feel). You may also find winery choices like Rusden, Lamberts, and Bethany among the popular stop combinations.
One small reality check: with only about four main stops, you won’t get to do everything. That’s why picking two anchors helps. You’re buying time with transport, not maximum quantity.


The Stops You’ll Hear About Most: Maggie Beer, Saltram, Yalumba, and Beyond
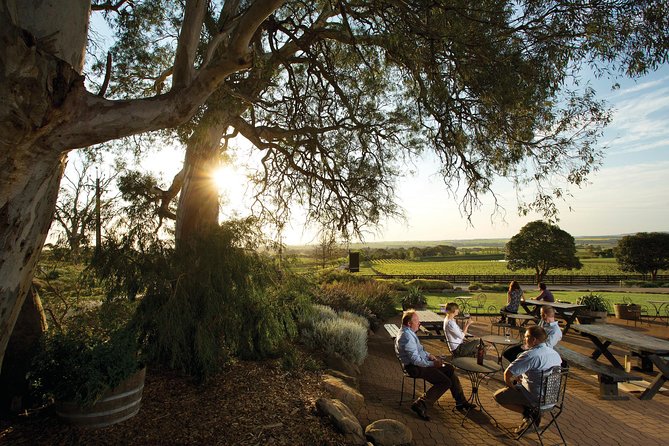
Some venues have gravity in the Barossa, and this tour’s stop options tend to reflect that. Here’s what these places generally mean for your day:
Maggie Beer’s iconic shop
If you like food culture, this is usually the kind of stop that turns into a souvenir mission. One common highlight is squeezing in time to get something like cheese during the visit. Even if you’re not doing a formal tasting here, it’s a high-reward stop that feels distinctly Barossa.
Saltram for food and wine pairing
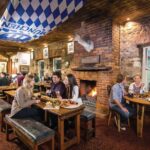
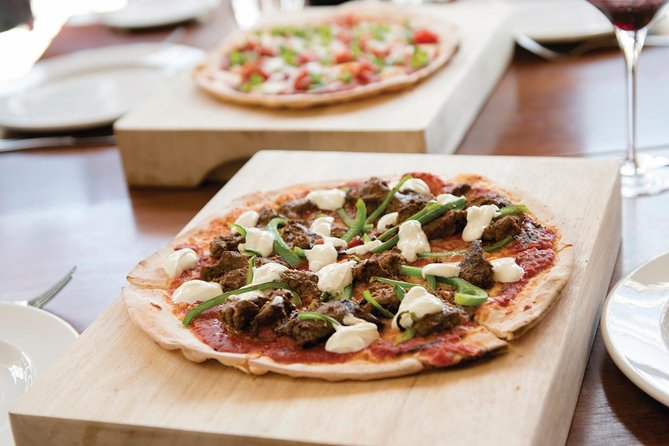
Saltram is often associated with wood-fired pizzas and modern cuisine. That matters because it gives you an easy transition between tasting and eating. If you’re not sure what you want for lunch, this kind of venue is often a safer bet than trying to “find something” later.
Yalumba for the slower-paced winery vibe
Yalumba comes up again and again for its gardens. Gardens usually mean you can slow your pace a bit, take photos without sprinting, and treat it like a proper stop instead of a quick tasting grab-and-go.
Rusden and Lamberts when you want a strong winery day
Rusden and Lamberts show up in recommendations for good reasons: they tend to deliver that classic winery experience, and they often pair well with tastings and a more traditional Barossa rhythm. If your group is split between wine lovers and food lovers, these kinds of venues can satisfy both sides.
Tanunda and Angaston food breaks
Bakery and café stops are part of the region’s appeal on this route. I love having at least one non-wine moment in the plan, because it keeps your palate fresh and makes the day feel less like a chore. Plus, it’s how you experience Barossa beyond the cellar door.
The big takeaway: choose stops that match your energy. One over-tasting day can feel heavy. A balanced mix—wine plus food plus one scenic or shopping stop—keeps it fun.
Wine Tastings and Lunch: Budget Reality Without Surprises
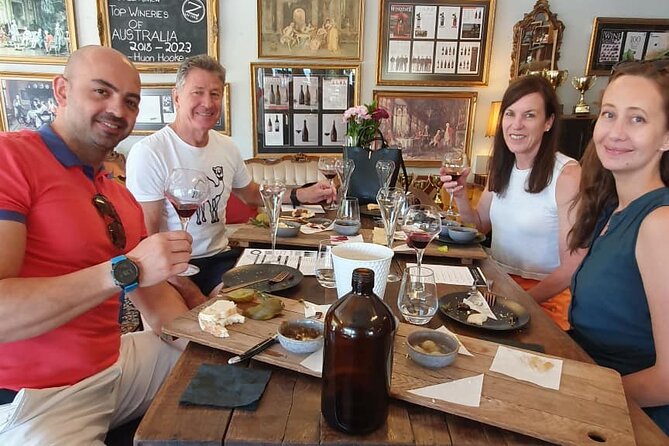
Let’s talk money like adults. The tour does not include lunch, alcohol, or cellar door tasting fees. That’s not bad—it just means you should plan for the day to have two budgets:
1) the tour transport cost (already paid)
2) the on-site tasting and food cost (you control this)
If you want the day to feel smooth, I’d decide in advance how many tastings you want to pay for. Even with a hop-on hop-off format, you don’t want to spend the day counting dollars mid-appointment.
A simple rule that helps: treat tastings as your “program,” and food as your “maintenance.” Eat before you’re starving. Drink water (bottled water is provided). And if you’re doing multiple tastings, pace them—one session at a time, not all back-to-back.
Also bring a payment method you trust. Cellar door fees are payable directly at venues, so you don’t want to get stuck at the counter.
Getting Help From the Guide Without Losing Your Independence
Even though this tour is hop-on hop-off, the guide still matters. In the feedback you’ll see a pattern: guides like Laurie, Yvette, Bronnie/Bronwyn, Ronnie, Brett, Kyle, and Nathan are often praised for keeping people moving, sharing local facts, and offering stop recommendations.
What I like about this setup is that it respects your independence. The bus gets you between places. The guide helps you decide where to spend your time. You still choose.
How do you take advantage of that without overthinking?
- Ask what stops are best if you’re into food versus wine
- Ask which venues are most worth the time if you only have a few hours left
- Listen to the timing tips so you don’t end up cutting your tasting window short
Punctuality is a theme in the positive feedback. That’s important here because the whole experience depends on timing. If you’re late to a pickup point, it’s your job to be back in time. If you’re early, you’re golden.
One caution from the less-perfect experiences: missing the bus because of being late—or because communication breaks down—can turn into real stress, especially in a regional area where last-minute alternatives may not be easy. So: keep your phone handy, know exactly where you’re getting back on, and don’t schedule a long lunch like a romantic comedy plot.
Group Size, Comfort, and the Feel of the Day
This tour keeps things manageable. The maximum is 8 people per booking, and the overall maximum group size mentioned is 20 travelers. That usually means the bus doesn’t feel like a rolling classroom, and it’s easier to remember your stop plan.
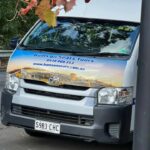
The coach is air-conditioned, and you get bottled water. Those sound like small details, but they matter when you’re out in vineyard temps and moving between stops. Wine days already tax your energy; comfort keeps you sharp.
Also, the tour uses a mobile ticket. That’s a practical plus if you’re traveling light and hate paperwork.
Should You Book the Barossa Valley Hop-On Hop-Off Wine Tour?
I think this tour is a strong pick if you want freedom with structure. You get a full-day experience from Adelaide with built-in transport, and you choose around four venues from a larger set of stop options. It’s especially good if you want to mix famous Barossa food-and-wine stops with a couple of wineries, without renting a car.
Book it if:
- you don’t want to deal with driving and parking between wineries
- you like choosing your own pace (and you might change your mind)
- you want a mix of destinations like Maggie Beer’s shop alongside wineries such as Saltram or Yalumba
- you’re the kind of person who will make a quick plan at the start and then relax
Consider another option if:
- you hate timing pressure and want a perfectly fixed itinerary end-to-end
- you’re hoping the price includes tastings and a full lunch (it doesn’t)
- you’d struggle to be at pickup points promptly, every time
If you’re organized enough to track your hop-off and hop-on plan, you’ll get a lot of value out of this day. It’s a smart way to taste Barossa without turning your trip into a transport puzzle.
FAQ
How long is the Barossa Valley Hop-On Hop-Off Wine Tour?
It runs for about 8 hours (approx.), including the Adelaide-to-Barossa travel time and your time exploring on the route.
What does it cost?
The price is $71.72 per person, and it includes the hop-on hop-off bus tour and regional transport.
How many wineries or eateries can I visit?
You can hop off at selected stops along a route with around 10–15 options, and you’ll have time to visit around four selected stops during the day.
Where do I get picked up in Adelaide, and when?
You’re picked up at Stamford Plaza Adelaide, 150 North Terrace, Adelaide SA 5000, with pickup at 9:30 am.
Where do I go once I’m in the Barossa Valley?
There’s an in-region pickup at the Barossa Visitor Centre, 25 Murray Street, Tanunda SA 5352, with pickup around 10:50 am.
What’s included in the tour price?
Included are the hop-on hop-off bus tour, transport between venues, air-conditioned vehicle, bottled water, and GST.
What’s not included?
Lunch, alcoholic beverages, cellar door tasting fees, and any food or drinks purchased at venues are not included.
Is it a mobile ticket, and when will I get confirmation?
The tour uses a mobile ticket. Confirmation is received within 48 hours of booking, subject to availability.
Can I cancel for a refund?
Yes. There’s free cancellation, and you can cancel up to 24 hours in advance for a full refund.